Items Needed:
- Plastic Spoons (I used roughly 250)
- Scissors
- Hot Glue Gun/Glue Sticks
- Foam Board
- A clock (I bought a cheapy!)
- (2) 1” screws or longer, philips screwdriver
- Xacto Knife
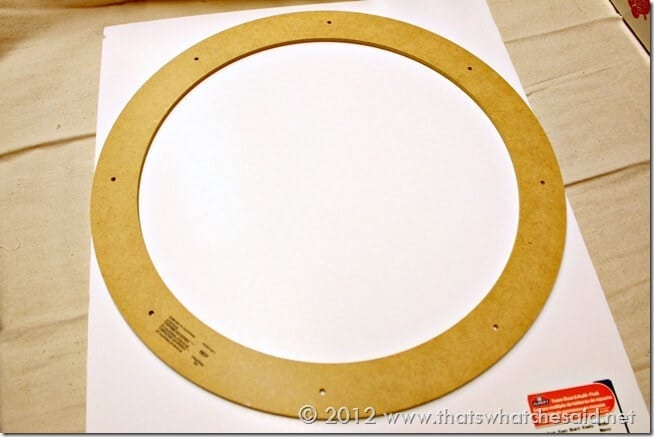
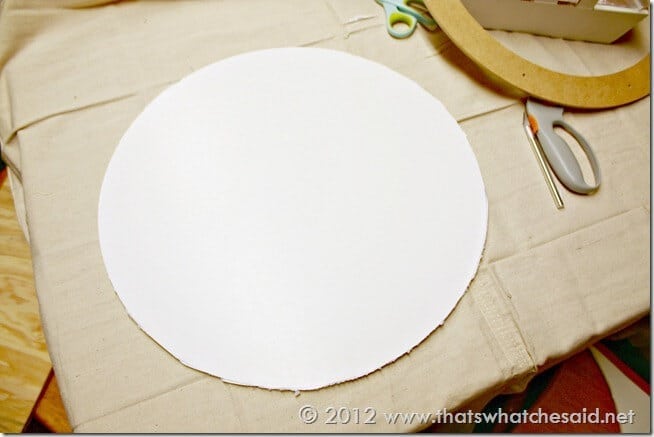
1. She started off by cutting my base out of foam board. I used foam board because 1. It’s light, 2. I had some already in my stash and 3. it’s cheap! I traced an 18” wreath form. I cut it out using a combination of Xacto knife and scissors. Save some scraps for later!
2. Found the center of the circle, and placed my centered my store bought clock and traced around it so I would have an idea of how far to come down with my spoons.
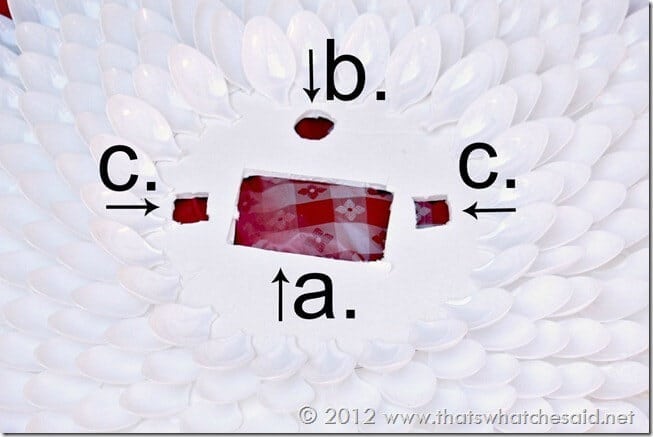
3. Then duplicated four things/areas from the back of my clock onto my foam board.
a. The center rectangle for the battery compartment (you will need a way to change/insert batteries to your clock)
b. The circle at the top to hang your clock
c. The two holes on each side (3 and 9 positions) where the clock was fastened onto the original cardboard packaging. These spots you will use to fasten your foam board to the clock!
4. (Next I wish I had spray painted the foam board at this point. I did not. Learn from me and spray paint your foam board! )
5. Cut your spoons! I used regular scissors. After a few you find the “sweet spot” on the spoon where they cut really nicely! Don’t worry if some of the handle is still on there, it will all get covered!
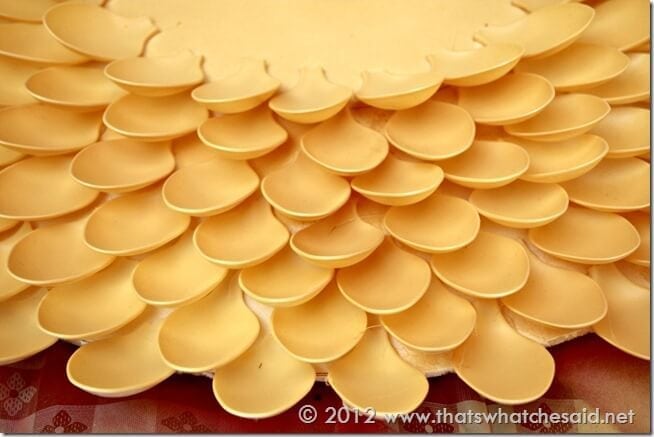
6. I did a quick trial run and just placed the spoons (without glue) in a small section so I could get a hang of the spacing needed and the number of layers to fill the area.
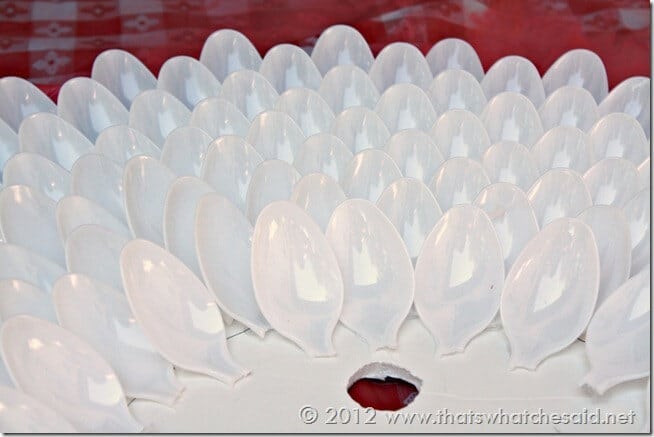
4. Start spacing out your outside ring and get gluing. Hot glue works great, dries fast and holds the spoons on the foam board nicely! Continue until you have all the area covered, overlapping your line you previously drew to outline the clock!
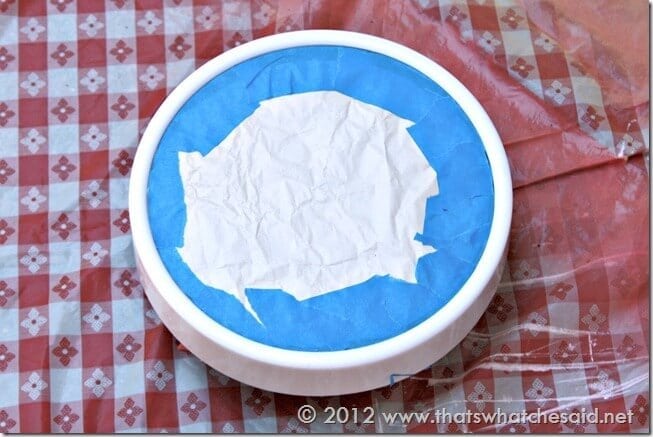
5. Next I covered the face of the clock with paper and painters tape. I didn’t want a white clock and a yellow flower so I needed to spray the clock yellow also. (an Xacto knife works well here to trim the tape perfect with the curve of the outside rim of the clock)
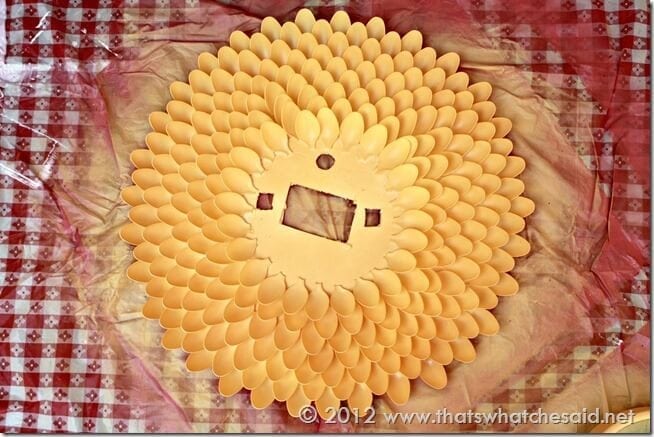
5. After all my spoons were glued and clock face was protected, I took them outside and gave each some light, even coats of Yellow spray-paint.
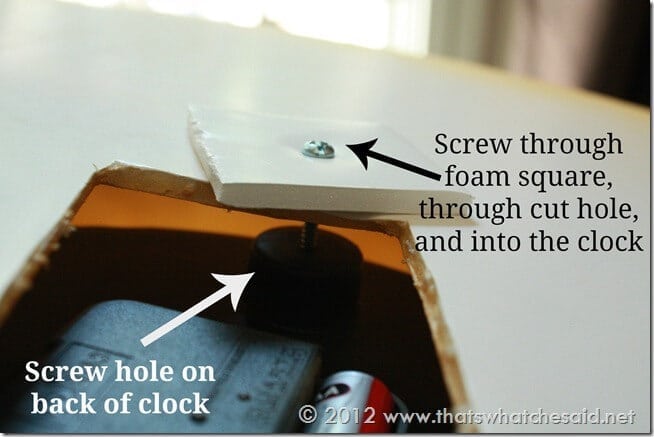
6 After that dried I brought it inside and then cut two small squares out of some scrap foam board that I saved from step 1. I cut the squares larger than the holes I cut at the 3 and 9 position. So your measurements will depend on the size of holes you cut.
7. I used a 1” screw to go through the small square piece, through the openings I cut and directly into the back of the clock where it had been originally screwed to the store packaging. Snug as a But in a Rug!
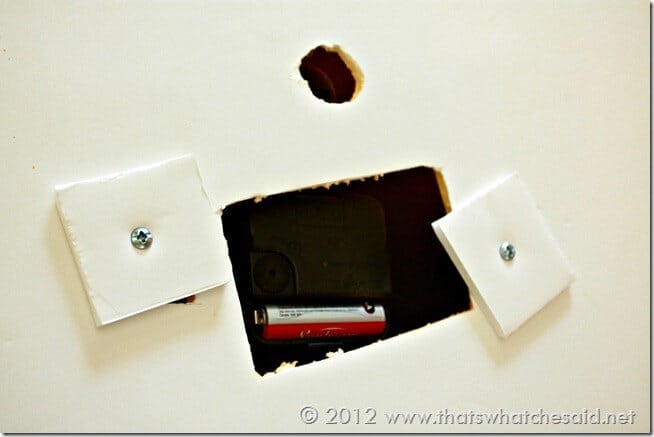
Note: You might wonder why I cut holes for the screws (3 and 9 positions) rather than just pushing the screw through the foam board on the clock (like I did for the small squares). The reason is that the clock sits on top of part of the spoons on the front, so the larger holes gave me wiggle room to get the clock centered and made it MUCH easier to get an exact location on the screw holes located in the back of the clock!
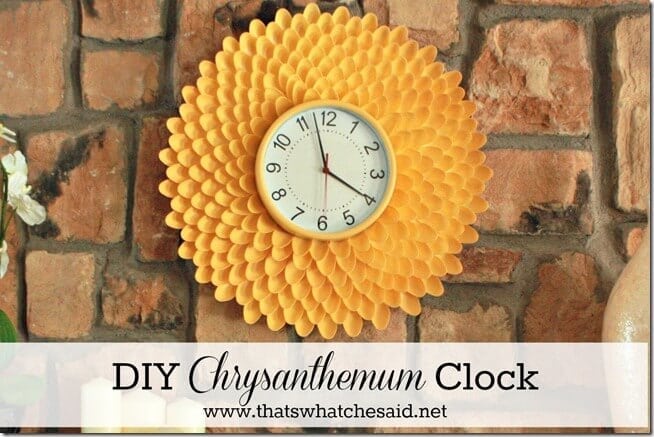
8. Pop in a battery and set the time! Hang and enjoy your fun new clock!
I hung mine in several places but I think it will stay here…for now! It adds a nice pop of color to my very neutral, rustic fireplace!
I love this project. She is very creative and like very much how good she explain all the steps
to achieve such a great project!